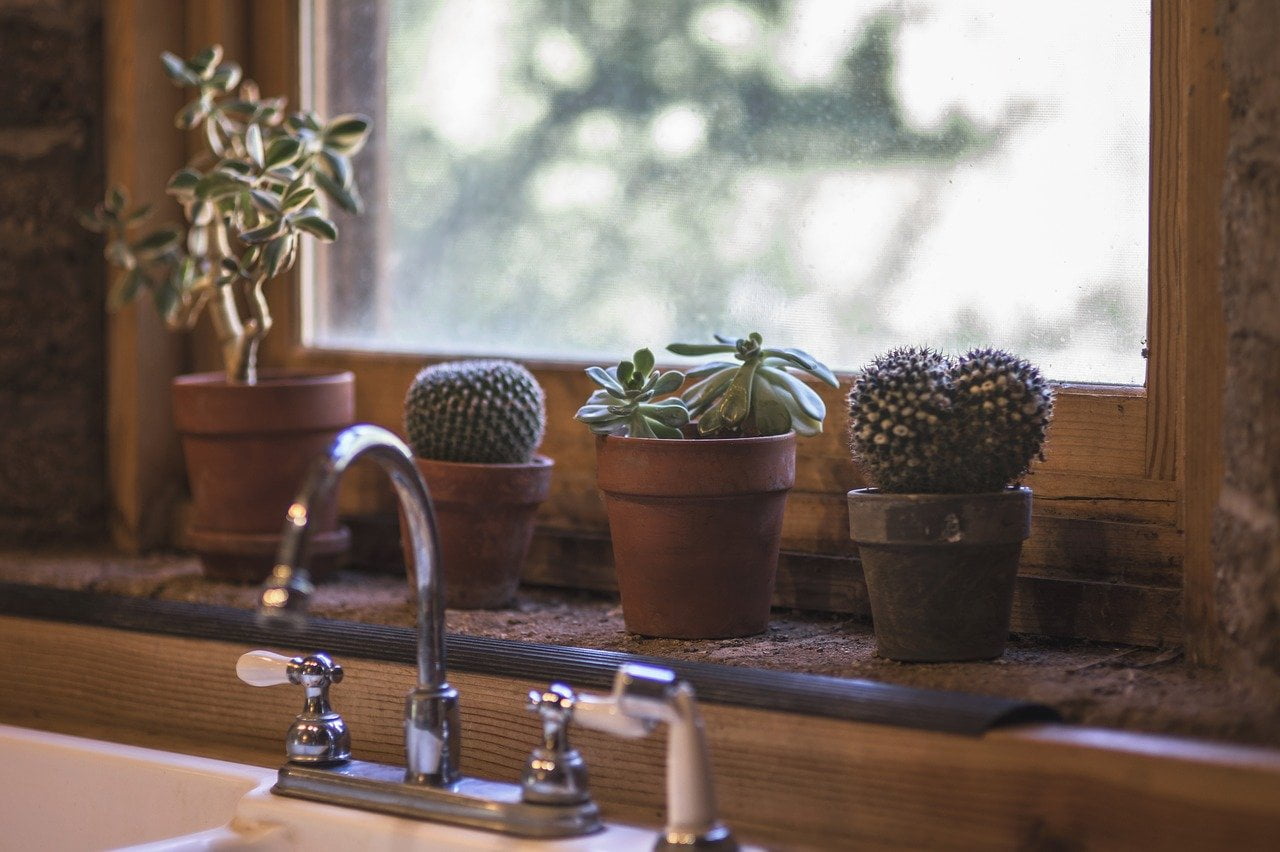
How to Hook Up Kitchen Sink Faucets with Sprayer
Installing a kitchen sink faucet with a sprayer can enhance your dishwashing experience significantly. This guide will walk you through the simple process of hooking up such a faucet, whether you’re replacing an old one or installing a brand-new fixture. Kitchen sink faucets with sprayers come in various designs, offering both functionality and style to your kitchen. Let’s dive into the steps to get your faucet set up efficiently.
Steps to Hook up Kitchen Sink Faucets:
Hooking up a kitchen sink faucet with a sprayer involves a series of detailed steps to ensure a secure and leak-free installation. Here’s a breakdown of the process:
1. Turn Off the Water Supply:
Before starting any work on your sink, it’s crucial to turn off the water supply to prevent leaks and potential water damage. This can usually be done by locating the valves under the sink and turning them clockwise.
2. Remove Faucet Handles:
Unscrew and remove the faucet handles from both sides of the sink. This might require a screwdriver or an Allen wrench, depending on the faucet’s design. Gently pry off any decorative caps and unscrew the handles.
3. Loosen the Nut on Top of Each Sprayer:
Use a wrench or pliers to carefully loosen the nut that secures each sprayer in place. Be sure not to apply too much force to avoid damaging the nut or the sprayer.
4. Remove Stuck Washers:
If there are any washers that seem stuck, gently remove them by hand. In cases where they are tightly fixed, you may need to carefully wiggle or twist them free.
5. Thread Hoses Through Sink Basin:
Take one end of each hose and thread it through the corresponding hole on either side of the sink basin. Once in place, screw each hose onto the underside of its respective sprayer head. Ensure that the hose does not get twisted or kinked during this process.
6. Tighten Nuts Securely:
After attaching the hoses, go back to the top and tighten the nuts using a wrench or pliers. Make sure they are secure, but be cautious not to overtighten as this can damage the threads or the sprayer.
7. Test for Leaks:
Once everything is hooked up, turn the water supply back on and check for any leaks. Run the faucet and the sprayer to ensure that everything is working correctly and that there are no drips from the connections.
By following these steps carefully, you can successfully hook up a kitchen sink faucet with a sprayer, ensuring a functional and leak-free installation.
Conclusion
Hooking up a kitchen sink faucet with a sprayer is a straightforward task that can significantly enhance your kitchen’s functionality. By carefully following the steps of turning off the water supply, removing and replacing faucet handles, loosening and tightening nuts, and properly threading hoses, you can ensure a successful installation. Remember to check for leaks and test the sprayer’s functionality to confirm everything is in order. With these steps, your kitchen sink will be equipped with a versatile and efficient sprayer, adding convenience and style to your daily routines.


0 Comment
[…] How to hook up kitchen sink faucets with sprayer […]
[…] How to hook up kitchen sink faucets with sprayer […]